Build Log - August 2024
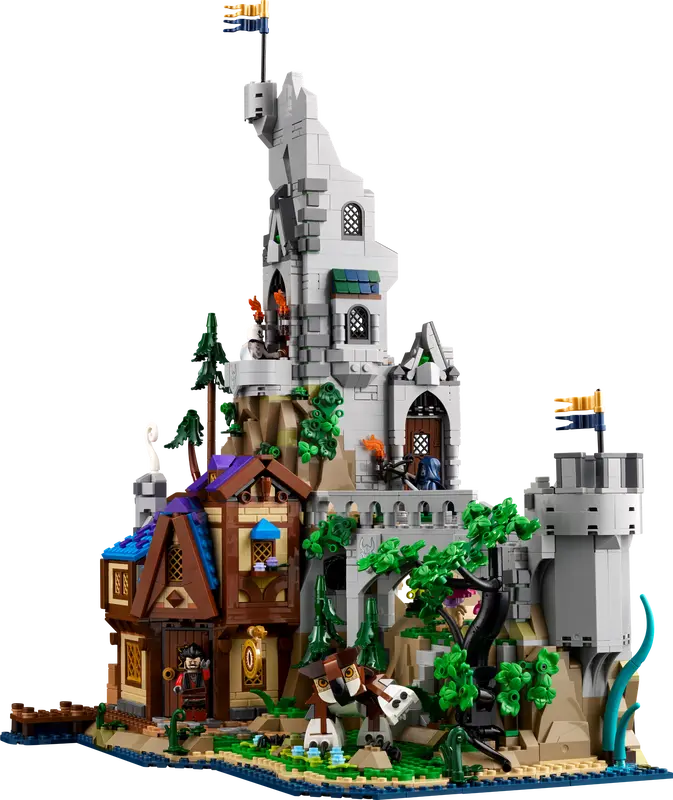
Here it is, folks, the Lego Dungeons & Dragons crossover set! It's a huge project to build. This set's got 3745 pieces, and covers a footprint about 12"x15", reaching 19" high. There's three sections to it - the tavern, the meadow and dungeon, and a tower. They fit together as one unit, or can be used modularly. For context, the
Disney castle was 4080 pieces, and dimensions are roughly 12"x19", and 29" high.
You can read more about the set on
the Lego listing, and also see all the minifigures and creatures that it comes with. I'm actually not going to show them all here, because there's an adventure module that you can
download to play D&D using this set! There are four adventurers with minifigures in the set, and then there are several creatures and NPCs included, too! The set is full of secret things and story elements for the adventurers to encounter, and since I want to run this module as an adventure sometime, I'm going to try to skip over some of those things. I've tried to angle away from those secrets in the pictures I took. Obviously, they are fully shown in the Lego listing and even a little bit in the picture above, but that's the way it goes. You choose what to look at.

Here's the box on the table, before I got started. So yeah, the box also gives away some of the special bits. There's a huge red dragon that goes with the set, which is a tribute to D&D's 50 years. This is one of the Lego Ideas sets, which means it was designed and suggested by a fan-builder, then picked up by Lego designers and turned into an actual set.
Inside that box is... another box. I assume that's to add some structural integrity for shipping and shelving. It didn't appear to matter whether bags were in or out of the box. There was, however, a big fat envelope inside the box. It held the dragon wings and other cloth elements, as well as the instructions books.
And these are some hefty books. 4 of them! Look at the beautiful artwork on the covers. The first handful of pages are talking about the history of D&D, the Lego fan and designers that made this set happen, and then the monsters and characters in the set. I read these while watching the behind-the-scenes of
the playthrough (which I watched when it happened some months ago). It's a great way to get in the mood before starting.
I opened up the boxes and got everything laid out ready to start - all the bags in numerical order. There's 32 bags for this set, plus the envelope of cloth elements, a few additional large plates, and a very small sticker sheet.
This is a larger project, so I knew it would take me a few days of working on it. I started July 26 and finished August 5, so it ran eleven days of working on it between everything else. I've got arthritis in my thumbs, so I can generally only build about one bag's worth before I'm forced to step away and come back later. Of course, that also means eleven days of taking up the table, so we couldn't use it for anything else. That sometimes takes some working on the schedule to make happen!
But I did finally get started on it, so let's go...
I love that Lego will usually start right out with a character. Here's the dwarf cleric, with options. There's a male and female head, each with a 'happy' and 'angry' face on opposite sides. Then there's male hair and a beard piece, or female hair. You can build your dwarf cleric the way you want (we're already to page 20 in the first book).
Our first of only a few stickers shows up inside the tavern. There's a bulletin board with what looks like something about a dragon, a missing kitty, and a picture of some adventurers. I'm sure each of those is a hint of some sort about the adventure, but even without that, it's a pretty neat-looking panel.
And the first new piece(s). That 1x2 gray oblong is a piece I haven't had before. And I feel like that may be a new door mold? Not sure on that one, though. All the doors in this set are this same mold, but they have different colors of mesh windows and used different color pips for the doorknobs. The gray oblongs are scattered throughout. This set has a lot of small detailed flooring with a variety of tiles, but enough pieces with reduced studs to attach minifigures and monsters to, as well.
And then Bag #1 finishes off with this adorable little dock build. I've seen there's a lights kit for this build (because of course there is), and one of the lights is under this dock. It looked very pretty in the pictures I saw, even if it doesn't really make sense to have a light under a dock. However, since it is a dock, I'm thinking I may need to grab a small boat from another set and tie up at it, just for the pretty.

Bag 2 gives us our wizard. And her spellbook has three options for spells - of course I chose Fireball. Looking in the adventure at her character sheet, looks like the ones not in her book are supposed to represent spell scrolls, of which the choices are Invisibility, Mage Armor, and Magic Missile. Nah, I'm gonna call the one in the book Fireball. Mage Armor for the one next to the book, and the third could be either of the other two.
Our next sticker gives the building a name - Inn Plain Sight. Which is, of course, adorable. And the bar the sign is hanging off of has a dragon head on it! Which we see later in another piece... but you won't see that one in this write-up, because it's a cool secret bit revealed during the adventure. You may also notice the Technic peg at the base of the building. Because yeah, this set is modular, and the pieces can be added as necessary or separated and moved about.
Building the inside of the tavern, and there's a lot of cute little extras. Look at those adorable little beer mugs! With the option to add a pip on top for some foam. There's a few bottles around the room, and a weapons rack on one wall - where someone has left a very nice lute.
Here's our gnome fighter. He's got options for shortsword & shield, or the heftier longsword. Both the fighter and the elf wizard have pointy ears. One is light nougat, the other dark nougat. Most elf ears I already have are a much lighter skintone, mostly from the Elves line, which are minidolls, not minifigures, so these are nice. I do wish they came with two hair/ear pieces each so that I would have more. You may also notice, behind him (or her, if we use the other head provided), is my extras cup. Lego is great about providing an extra of small essential pieces. So if you need six of something tiny, you'll often get seven. Or if it's something important, you may even get two instead of one. Because pieces get lost. And also probably because it's easier to pack 'at least six' of something than exactly six. An extra is insurance in case the machine miscounts, and also good service for your customer.
Look at this clever little tiny fireplace build for the second floor of the tavern, built into a little corner space! It lines up with the chimney outside, and covers an awkward angle, without taking up much space at all. You can also see a hint of another panel with a sticker on the inside of it, with a portrait of someone and a harp image. Again, hints for the adventure!
And here's what that chimney looks like from the other side at this point - two stories of it. It's got a lot of studs-not-on-the-top (SNOT) construction, so we have the dark gray tiles attached irregularly. And some aren't tiles, they are angles, so they are covering two spots, which looks very nice. The whole set uses a lot of small detail pieces like this throughout. Note the assorted tiles at the base of the chimney to clean up the angles and leave a single open attachment point.
This orc rogue only has one face on each head, and they aren't that different. I'm a little disappointed here. Or, I guess I just don't feel like the second head serves much of a purpose. But this is our third adventurer of four, so we're almost there. But he comes with a crossbow and a pair of daggers.
And we're finishing off the outside of the tavern with three very different treatments. The little gable build was neat, and holds on with just a pin, then is secured to the rest with a rounded tile. There's a couple more pieces that add to this later. And as I found out after it was complete, this section is a bit fragile. Getting the two angled sections to stay on correctly was a little frustrating, and I added a couple of extra pieces to make it more stable.
Topping off the tavern with a little more roof, a top to the chimney, and the rest of the details, including the peak for that gable.
This completes the first of four instruction books and five bags of bricks, and finishes the tavern build. We'll set that aside and start working on the next major component section.
With Bag 6, we start a new section - the meadow and dungeon. This first bag is just building a large baseplate. There's no minifigure in this bag, and nothing particularly interesting. The most boring bag in the build. But it does continue the dark navy water around two edges and begins to separate the meadow area from the dungeon area through color, if nothing else.
Got a little frustrated here. They make a point of there being both mid-green and darker green little pieces. But I can't really tell them apart in the book image - that's not a clear color difference. And a few pages later, I'm supposed to know whether they want the lighter or darker ones, without even this clue. Usually, they'll avoid having two pieces this close together in the same bag. I made the best guess I could, and it's probably correct, or won't make that much of a difference if I'm wrong. I made sure to get a pic of the darker green little curves on top of a lighter green plate so you could see the difference in the bricks, at least. But the image in the book is pretty hard to distinguish.
Bag 7 begins to turn that base into a dungeon. Of course, that space doesn't need to be revealed until the game, so here's the backside of it, with the beginnings of the meadow outside. I also got to build my first monster - not pictured, of course, but it's great, one of the selling points of the whole set. There's three major monsters and a few smaller ones. Having watched the playthrough, I have a bit of an idea how they play into the adventure, even though I know there's some argument to be made that they are too powerful for the Level 5 characters in the module. Of course, for that matter, so is a dragon, and we know there's a dragon in the adventure. So there's that. Guess our adventurers will have to be smart, instead of rushing in with swords swinging. Or maybe it's just a very short adventure.
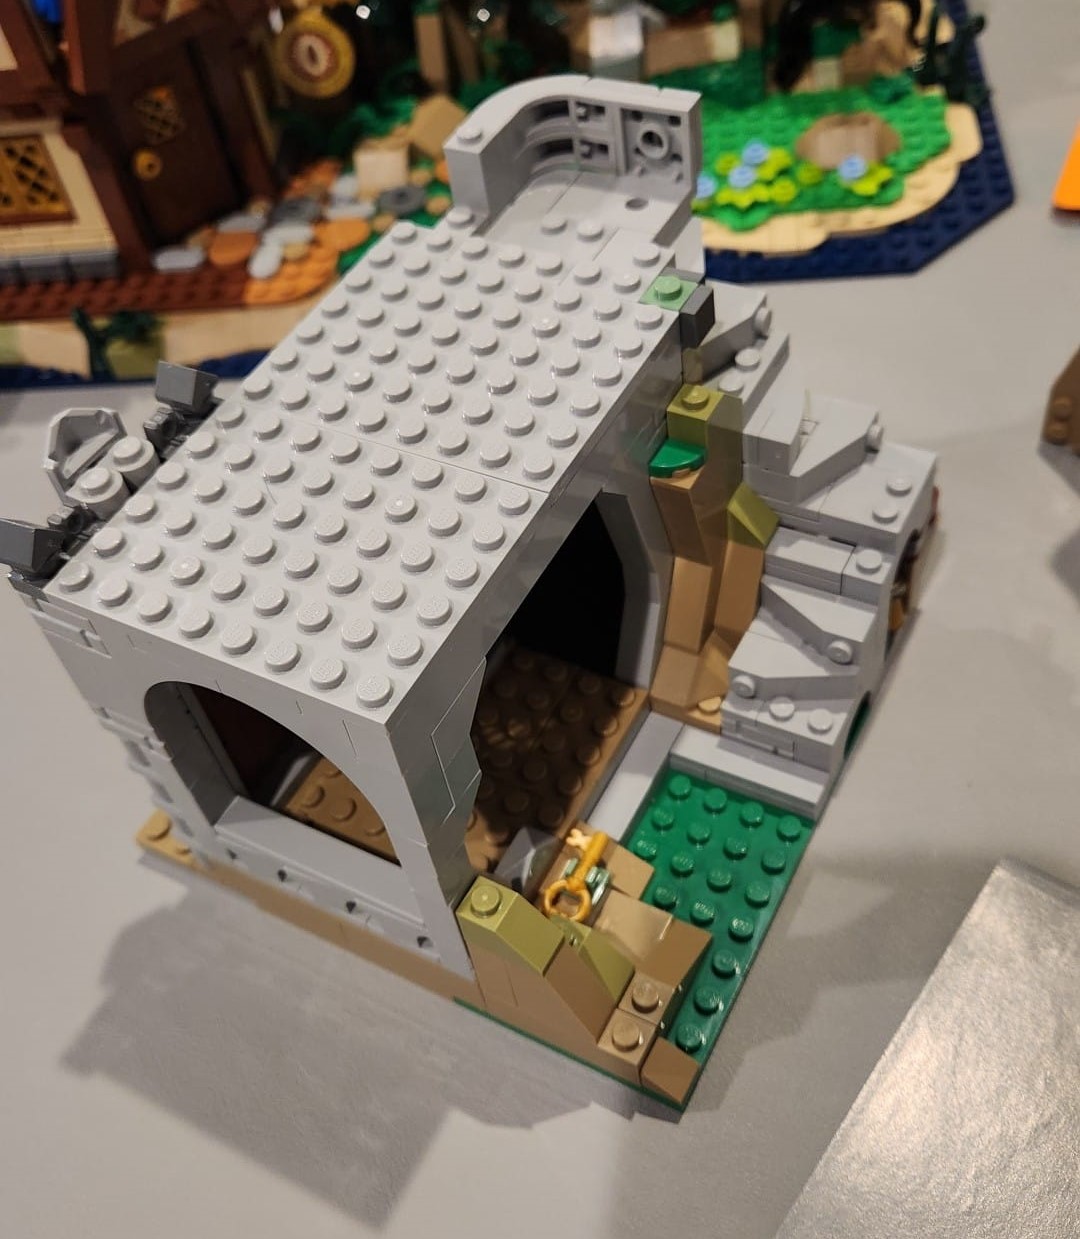
Bag 8 puts a door and a roof over the dungeon piece, and Bag 9 builds a little tower over the end where the door is. I had a few misfires trying to build this section, and had to compare to the images and go back to try and understand what they actually wanted there. But looks like I got it, or at least close enough that it does the job just fine.
There is actually a game secret very visible in this picture, but I don't think it will register anyway, and it's not really avoidable, either. I said I'd try not to give away many of the secrets, not that I'd avoid it entirely.
Here's a neat piece I rather enjoyed building. The four legs are of three different lengths, and none of the legs attach. They all sit on smooth tiles. The connections are the wedge plates attached on hinges.
In the background, you can see my spare pieces cup is about half-full. We're about a third of the way through the build at this point, so I expect it to be pretty full by the time I'm done.
Another piece that's new to me, this plant frond. It comes in two different greens at this stage, and will be used extensively in the build. You can see it below on the walkway section, too.
I do not like how these mixed-grey crenelations are built, over on the right. The dark grey parts don't line up as exactly as I'd like and just feel sloppy to me . But I do like the little arched railing. They took some pains to figure out how to make it turn the corner, and there's a damaged bit at the end. This is an old stone building, and has some wear and tear scattered about.
Bags 10 and 11 are mostly small decorations, like plants and rocks. A few of them are camouflage for some story features, so I won't tell you about them (there's a secret compartment in this photo!). But I will note that I really dislike these two trees - they are built upside-down from those new fronds and some brown candlesticks, and I just don't like the way they look. There's a few more of them around before we get done, too.
Bag 12 builds a big tree that goes at the end of the meadow. An interesting tree, it doesn't actually connect to the rest of the unit. It's got three lower pieces that fit into the build nicely. One sits on a flat tile, another ends in a small cone that fits into a dip between some bricks in the meadow, and the third is a vine-like piece that winds over to rest on the shore next to the water. So it's kind of wedged into place rather than actually connected. And then the next bag is another creature that I'll hide away for now. So that's the end of the second book and the second section of the build! Here we have the first two sections connected up.
Book Three starts off with Bag 14. Remember that new green frond piece? It came in mid-green and dark green, and now here it is in a translucent pink, along with a pink piece I think of as 'coral'. And take a look at these lovely green-flame candles!
And we finish off the base of the tower with Bags 15 & 16. There is a lot stuffed into this cube - primarily the curved stairs, but a door on each of two sides, the candles, some space behind the stairs with a few things in there - lots happening in a small space. The next two bags were more creatures, so we'll skip over those here.

The second level of the tower - and the floor of the third - took three bags (19, 20, 21). This rockface has so many different slopes arranged in different ways - it's really very intricate. And of course, another door - but look how detailed the framing around it is, as well as the lintel with it's little shield-like piece.
The staircase inside/on the corner of the second level is also very intricately built, with lots of SNOT and also just bricks turned in all different directions. Honestly, I think this one may be unnecessarily intricate, but it is pretty. And you can see one of the surprises in the corner there. I won't show you the inside, because of other surprises, but here's a top-view of this level, too.
Bags 22 and 23 finish off the outside of the second level, as well as laying a floor for the third. Here they are stacked up together! That included furnishing the room inside as a wizard's study; it's very full with a couple of tables, some books and scrolls, a cauldron and some potion-making materials. Both of the doors you can see here have some translucent pieces with some clips arranged to look like bars over the doors themselves, which is nice extra detail. And of course, we've added some greenery for some color, all poking out in different directions. This bit also includes the third dragon-shield on the building.
Bag 25 finishes off the tower (and Book 3). It was harder to get a good picture of this than I expected. There's a flagpole at the top and some trees halfway up, which looks a little odd until you realize the tavern will back up to the tower there, so the trees are on the hillside behind the tavern as that rockface has the tower built up on it. On the face of the third level here, there's some damage built into the wall, and then a tiny parapet making a kind of a fourth level - it's really only big enough for that flagpole, though - maybe a single minifigure.
And the finished product! When we put the three parts together, there's a nice flow straight up from the dock to the tavern to the cliff all the way up the tower. Or a smoother flow from the dock to the tavern door, across the meadow, up and across the wall into the tower and up. Here's a couple of alternate angles, as well, trying to show how they fit together without giving away things I don't want to.
If you are expecting to play the adventure Red Dragons Tale, which uses this build as a setting, You should stop here. I'm going to show the dragon and the other creatures I've built. They won't be a surprise if you keep scrolling down from here.

The last eight bags are all building the dragon! And here's the building in its new placement. I'm not sure where Cinderhowl the dragon will ultimately live, but I'll put her with it for now. She's not the prettiest dragon Lego has put out, but she's pretty solid. I particularly don't like how they printed tiny little eye pieces for her, and then covered those with a horn bit - I might just change her head a bit.

I did just flip those little horn bits upside down, and it looks fine, and now you can see her eyes. Her wings don't fold in, which may make display space an issue for this one. But I do like the way the wing panels are secured with the little T pieces.
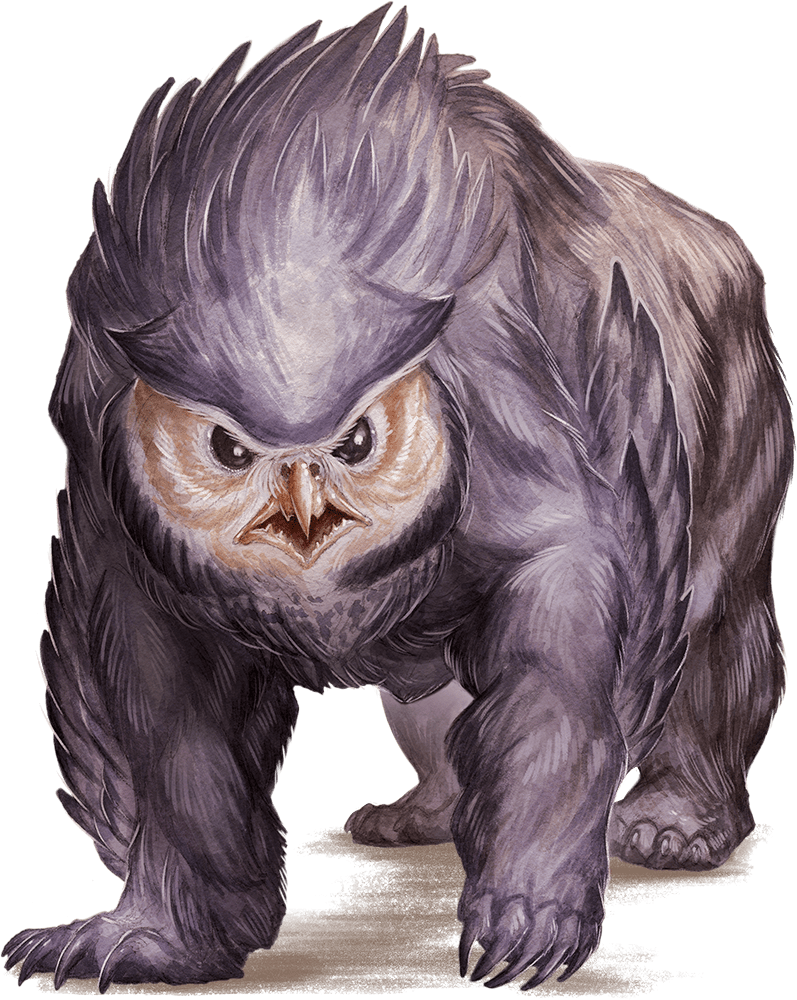
The owlbear is just as adorable as you'd want him to be. He's just barely small enough to be used as a Large creature for D&D. Trying to build good creatures at that size limitation is hard, and I think they did a great job on this one.
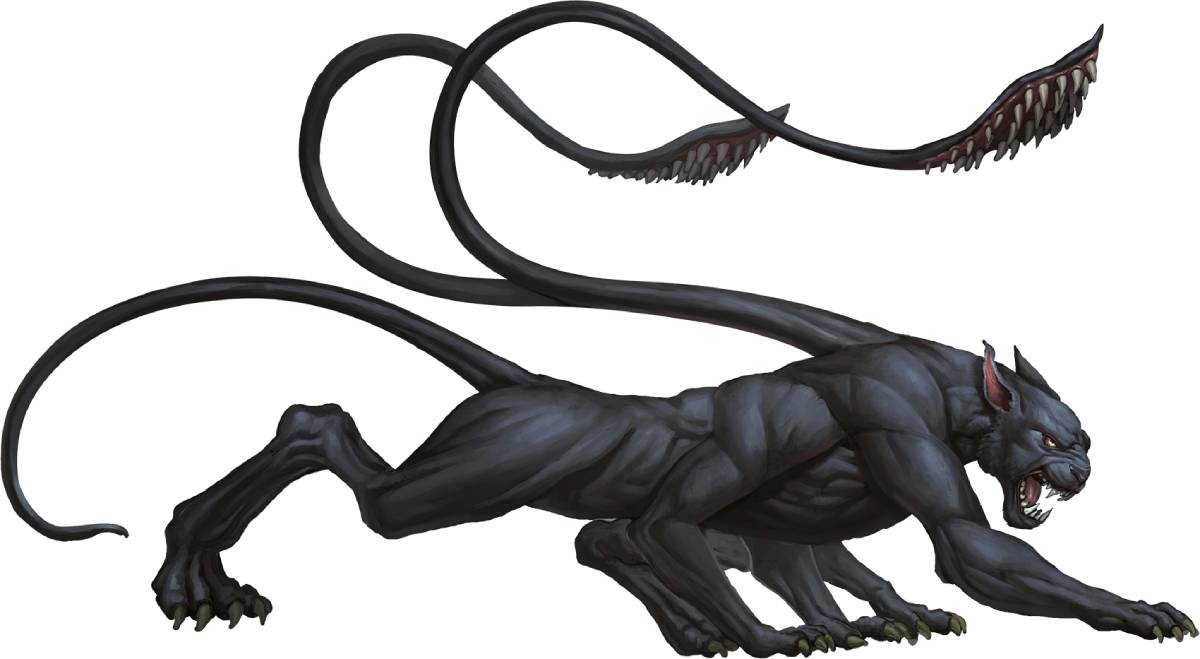
The displacer beast wasn't quite so successful. There's only so much you can do to make a cat head at the same scale, though I did like the build of the six legs, and the tentacles turned out pretty well.
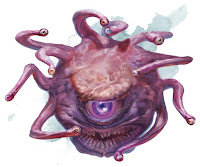
The beholder, too, turned out well, including a clear base so that it can hover. The various twists of the different tentacle/eyes makes it feel pretty organic. The brick version is definitely cuter than the Monster Manual version, though.
Of course the gelatinous cube has a skull inside, as well as a couple of other things. And it has a baby, too! This one was particularly a fun little build, with panels as the sides, leaving space in the middle to mount the stuff inside.
Speaking of oozes, here's a few more. Along with a pair of myconids and a few spiders. There are more spiders, but these are enough for the picture. These myconids are definitely cuter than the Monster Manual version.

And if you want to peruse the rest of the build for secrets and such, here's a good view of the backside, with many of the bits I've been hiding throughout this writeup.
Thanks for going on this journey with me. I hope to run the adventure that goes with this build a few times with my friends - maybe with you!


 Bag 2 gives us our wizard. And her spellbook has three options for spells - of course I chose Fireball. Looking in the adventure at her character sheet, looks like the ones not in her book are supposed to represent spell scrolls, of which the choices are Invisibility, Mage Armor, and Magic Missile. Nah, I'm gonna call the one in the book Fireball. Mage Armor for the one next to the book, and the third could be either of the other two.


 The second level of the tower - and the floor of the third - took three bags (19, 20, 21). This rockface has so many different slopes arranged in different ways - it's really very intricate. And of course, another door - but look how detailed the framing around it is, as well as the lintel with it's little shield-like piece.


No comments:
Post a Comment